
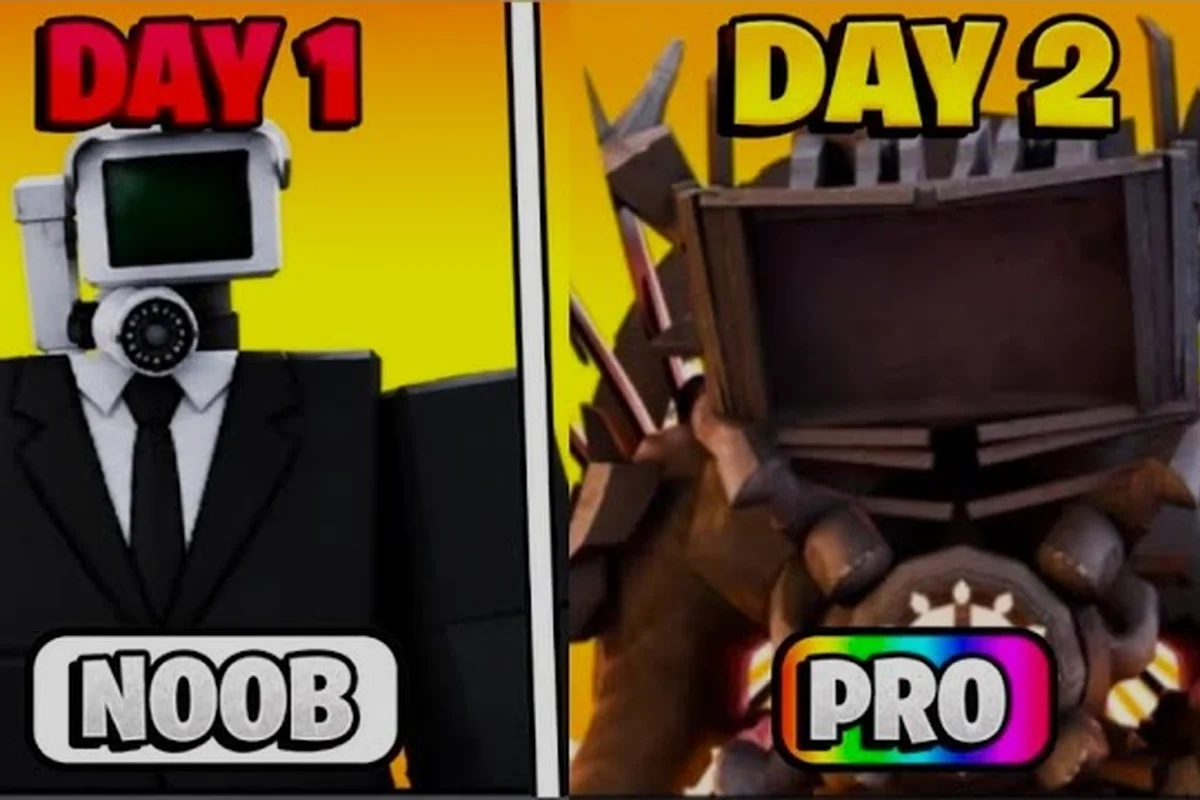
Walking into Slop Tower Defense for the first time feels like staring at a slot machine that also wants you to survive a zombie rush, and that mix of chaos is exactly why the first ten matches usually decide whether new players stick around. This Slop Tower Defense beginner guide cuts through the noise with a noob-to-pro roadmap built around the actual systems the game runs on: the Summon Cradle, the Wave Counter, the Cash Pipeline, and the Gem Economy. By the end of this walkthrough you will know how to read a match, place defenders with intent, push your first win streak, and start converting downtime into real progress.
Getting Started With Slop Tower Defense Basics
Before touching a single upgrade button, a new player needs to understand what Slop Tower Defense actually asks of them. The match structure is deceptively simple: waves of slop-themed enemies march along a fixed path while the player summons units, earns cash from kills, and tries to keep the Core Heart alive until the final wave. Every decision, from where the first defender stands to which trait you reroll, feeds into that single survival loop.
Understanding The Core Match Loop
The match loop in Slop Tower Defense runs on a tight rhythm that rewards planning over reaction. According to community testing on the public beta, the average match lasts between 8 and 14 minutes depending on map length and difficulty tier, which means you will see roughly 20 to 35 waves before victory or defeat. Cash arrives in two streams: a small per-kill drip and a chunky Wave Clear Bonus that scales with the wave number. Gems are a separate, premium currency used to unlock new units, reroll traits, and accelerate the Season Pass track.
| Phase | Duration | Primary Resource | Player Goal |
|---|---|---|---|
| Build Phase | ~15 seconds | Pre-earned Cash | Place or upgrade defenders |
| Active Wave | 30-90 seconds | Cash drip | Defend the path |
| Wave Clear | ~5 seconds | Wave Bonus | Spend rewards quickly |
| Boss Wave (every 5) | 90+ seconds | Bonus Cash + Loot | Save ultimates for the boss |
Players who treat the Build Phase as a sprint instead of a planning moment almost always run out of cash by wave 15. The strongest habit a beginner can build is pausing for three seconds at the start of every Build Phase and asking, "Which of my defenders is closest to dying?" The answer dictates your next upgrade more reliably than any tier list.
Choosing Your Starter Unit Loadout
Slop Tower Defense opens with three summoning archetypes, and the choice you make in the first match shapes the next several hours of progression. The Bruiser Cradle is forgiving because it tanks hits and clears trash waves, the Sniper Cradle deletes bosses but struggles when the path turns, and the Support Cradle boosts neighboring units but rarely kills anything alone. Most community guides for Slop Tower Defense how to play recommend the Bruiser as the first pull because forgiving economy lets new players focus on learning wave timing rather than defending a glass cannon.
If you want a deeper look at the early game and the mistakes to avoid in the first five matches, the slop tower defense how to get started guide expands on what this section only sketches. Pair that with the broader walkthrough framing in the main game guide and you have a complete onboarding picture.
How To Play Slop Tower Defense Without Losing Early
Most new players lose their first match by wave 12 because they treat defenders as a single pile rather than a layered defense. Slop Tower Defense how to play effectively means thinking in three lanes: frontline stalling, mid-range damage, and backline boss killing. Stack all three roles into one choke point and the lane collapses; spread them too thin and the boss walks through unchallenged.
Reading The Wave Counter
The Wave Counter is the most underrated tool in the interface. It does not just count waves, it previews the next enemy type, the boss threshold, and any Modifiers that change how that wave plays. According to player reports, a wave marked with the Swarm Modifier will spawn roughly 40% more trash enemies but no extra bosses, which means you want AoE damage, not single-target upgrades. A wave tagged Heavy Modifier flips that priority entirely. Skipping the preview is the single most common beginner mistake.
| Wave Range | Enemy Mix | Recommended Focus | Cash Spend Priority |
|---|---|---|---|
| 1-5 | Trash + 1 mini-boss | AoE defenders | One strong frontline |
| 6-10 | Mixed + path splits | Place second lane | Mid-range DPS |
| 11-15 | Tanks + first real boss | Backline sniper | Save for boss wave |
| 16-20 | Swarm + Heavy alternating | Balanced defense | Reroll weak traits |
| 21+ | Endgame bosses + modifiers | Full synergy | Stop spending on tier 1 |
Placing Defenders With Intent
Placement is where new players hemorrhage cash, because the game lets you put a defender almost anywhere on the map. The rule that separates casual players from ranked climbers is simple: never place a defender on the path itself unless the unit's kit requires it. Sniper units want maximum range, which means placing them at the back of the map near the core; Bruisers want to be the first thing enemies see, which means placing them at the map's first turn; Support units belong between those two roles, ideally covering the chokepoint where your Bruiser hands off the wave.
A practical exercise for beginners is to replay the same map three times using three different placement strategies, then compare the wave at which the core loses half its health. This kind of controlled comparison builds intuition faster than any tier list because it teaches you how map geometry interacts with unit speed. The deeper mechanics of placement are explored in the slop tower defense how to get free cash write-up, which covers the exact pathing patterns that maximize the cash drip.
Slop Tower Defense How To Get Money Faster
Cash is the oxygen of every match, and learning how to get it flowing faster is the fastest way to stop feeling broke. Slop Tower Defense how to get money is not about grinding longer matches, it is about understanding the Interest Bracket, the Wave Clear Bonus, and the Elimination Streak multiplier that the game quietly applies to consecutive kills within a short window.
The Interest Bracket System
The Interest Bracket is the closest thing the game has to a savings account. At the end of every wave, your unspent cash is evaluated and you earn bonus interest scaled to your current bracket. The bracket resets to zero if you spend below a small threshold, which is why players who spend every cent on the first defender they see are always broke. According to community data, holding a reserve of 300 to 500 cash between waves is the sweet spot for early progression because it unlocks the second interest tier without starving your build phase.
| Bracket | Unspent Cash Threshold | Interest Payout | Risk vs Reward |
|---|---|---|---|
| Bronze | 100 | 5% | Low risk, low reward |
| Silver | 300 | 10% | Best for early waves |
| Gold | 700 | 15% | Risky before wave 10 |
| Platinum | 1500 | 20% | Endgame only |
Maximizing The Wave Clear Bonus
The Wave Clear Bonus is where most of your match income actually comes from, and it scales in two directions: wave number and difficulty tier. A wave 12 clear on Normal difficulty pays roughly 250 cash, while the same clear on Hard difficulty pays around 600 and adds a small chance to drop a Trait Token. Trait Tokens are the unsung hero of the cash economy because they let you reroll a weak defender into a usable one without spending Gems. If you want a full breakdown of how Tokens interact with the broader loot table, the slop tower defense multiplayer guide covers how co-op matches multiply both the cash and the Token drop rate.
A simple rule of thumb is to spend most of your cash during Build Phases that precede a boss wave, because the boss kill itself is worth more than the wave's base reward. Save your interest-bracket reserve through the early waves, then go on a spending spree once you can see the boss preview.
Slop Tower Defense How To Get Cash Fast With Daily And AFK Routes
Once the basic economy is in your head, the next question every new player asks is how to get cash fast without playing 40 matches a week. The answer sits in two systems the game calls the Daily Cache and the Idle Larder. Both are designed to feed the early-game progression curve so that even casual players can keep up with the meta.
The Daily Cache Routine
The Daily Cache is a small loot box that resets every 20 hours, and it always contains a mix of cash, Trait Tokens, and a small chance at a Gem. According to community testing, the average Daily Cache is worth roughly 400 cash equivalent if you spend the Tokens immediately, which is enough to fund a full early-game build without touching your match earnings. A simple routine of logging in once per day, claiming the Cache, and rerolling one weak defender is enough to convert a free-to-play account into a competitive one within two weeks.
| Daily Task | Average Reward | Time Cost | Weekly Total |
|---|---|---|---|
| Claim Daily Cache | 350 cash + 1 Token | 30 seconds | 2,450 cash |
| Win 3 Matches | 600 cash | ~30 minutes | 4,200 cash |
| Place 20 Defenders | 200 cash | Any match | 1,400 cash |
| Reroll 5 Traits | 3 Tokens | 5 minutes | 21 Tokens |
Idle Larder And AFK Routes
The Idle Larder is a background system that generates a small trickle of cash and Gem shards while you are offline, and it caps at a relatively modest amount per day. Players who want to know how to get cash fast using the Larder should pair it with one of the AFK Farm maps, which are short, low-difficulty stages designed to be left running while you do something else. The community-recommended loop is to start an AFK match, claim the Larder cap, and then collect the match reward roughly every 90 minutes. A full deep-dive on the optimal AFK routes, including which maps drop the most Gem shards, lives in the slop tower defense afk farm guide.
Be aware that the Larder cap is shared across the entire account, not per match, which means running three AFK farms at once is not more efficient than running one. Rotate one map, claim, and start the next.
Slop Tower Defense How To Get Gems And Spend Them Wisely
Gems are the rarest currency in the game, and learning how to get Gems in Slop Tower Defense is really about understanding which activities are worth the time and which are traps. The most reliable sources are the Season Pass free track, the Ten Wins Reward, the Achievement Vault, and the First Win Of The Day bonus. There is no legitimate way to buy Gems with real cash in the base game; they are a pure grind currency, which keeps the early-game economy honest.
Prioritizing Gem Spending
The single biggest mistake new players make is spending Gems on random unit unlocks from the shop. The shop rotates daily, and most of the units in it are mid-tier at best, so pulling early rarely accelerates progression. The community consensus on slop tower defense how to get Gems and where to spend them is clear: Gems go into Trait Rerolls for your main carry and into the Season Pass premium track if you plan to play more than a month.
| Gem Sink | Cost | Real Value | Recommended? |
|---|---|---|---|
| Random Unit Unlock | 80 | Low | No |
| Trait Reroll | 25 | High | Yes |
| Season Pass Premium | 600 | High | Yes, if committed |
| Energy Refill | 50 | Medium | Only during events |
| Skin Purchase | 150 | Cosmetic | Optional |
If you want a broader look at how Gems interact with daily rewards and the multiplayer economy, the slop tower defense multiplayer guide covers the long-term math of how free Gems stack up over a full season. For now, treat Gems like a long-term investment rather than a short-term fix.
The Ten Wins Reward And Achievement Vault
The Ten Wins Reward is the most generous single Gem payout in the early game: hit ten matches won in any difficulty and the game hands you 120 Gems plus a random Mythic Trait Token. The Achievement Vault layers on top of that with smaller Gem rewards for hitting milestones like "Place 100 Defenders" or "Clear 50 Boss Waves." Together, these two systems will give a focused new player around 300 Gems in their first week, which is more than enough to fully trait-reroll one main unit.
| Source | Gem Reward | Unlock Condition | Frequency |
|---|---|---|---|
| First Win Of The Day | 10 | One match win | Daily |
| Ten Wins Reward | 120 | Ten match wins | Once per reset |
| Achievement Vault | 5-50 per milestone | Various | One-time |
| Season Pass Free | 30 per tier | Tier climb | Per season |
| Nightmare Clear | 80 | Clear any Nightmare map | Per map |
Mid-Game Transition And Endgame Prep
Once you have a stable early-game loop, the natural question is how to bridge into the mid game without hitting a hard progression wall. The wall usually shows up around wave 20 on Hard difficulty, where enemy health roughly doubles and the Modifier system starts to appear every other wave. The good news is that the transition is mechanical: you need a Godly+ core unit, you need at least two Synergy Links active, and you need a reliable cash pipeline that is not dependent on a single big wave.
Building The Godly+ Core
A Godly+ core is a defender that has been upgraded to its highest base tier, rerolled with at least two synergistic Traits, and placed in a position that maximizes its kit. According to player data, pushing a single unit to Godly+ is worth more than having three unranked units in the same lane, because Traits scale multiplicatively with tier. The mid-game to endgame bridge is covered in more detail in the slop tower defense early game guide, which maps out the wave-by-wave transition into Nightmare difficulty.
| Progression Stage | Core Tier | Trait Count | Wave Target |
|---|---|---|---|
| Early Game | Common-Uncommon | 1-2 | Wave 1-10 |
| Mid Game | Rare-Epic | 2-3 | Wave 11-20 |
| Late Game | Legendary | 3-4 | Wave 21-30 |
| Endgame | Godly+ | 4+ | Wave 30+ |
When To Push Nightmare Mode
The official Slop Tower Defense Roblox experience, as documented in the CHALLS walkthrough on YouTube, treats Nightmare Mode as the natural next step once a Godly+ core is online, and player experience broadly matches that framing. Nightmare multiplies enemy health by roughly 2.5x and forces at least one Modifier per wave, but it also unlocks the highest cash multipliers and the best Trait drop rates. The general community rule is to push Nightmare once you can clear Hard difficulty with the core at full health, because the transition is otherwise brutal.
Closing out this guide, the most valuable takeaway is that Slop Tower Defense rewards systems thinking, not raw reaction time. Learn the interest brackets, hold a cash reserve, build a single Godly+ core before spreading your resources, and log in daily to claim the Larder and the Daily Cache. Do that for two weeks and the endgame will feel completely different.
Frequently Asked Questions
What is the best starter unit in Slop Tower Defense?
The Bruiser Cradle is the most forgiving starter because it tanks hits and clears trash waves, which lets new players focus on learning wave timing instead of defending a glass cannon. Once you have a stable early-game loop, swap to the Sniper or Support Cradle for harder difficulties.
How do I get cash fast without playing all day?
The fastest method is to combine the Daily Cache (about 350 cash per day), the First Win Of The Day bonus (10 Gems plus a cash reward), and a single AFK Farm map on a 90-minute rotation. According to community testing, this stack produces around 1,000 cash equivalent per day with under an hour of active play.
How do I unlock Gems in Slop Tower Defense?
Gems come from four main sources: the Ten Wins Reward (120 Gems), the Achievement Vault (5-50 Gems per milestone), the Season Pass free track (30 Gems per tier), and the First Win Of The Day bonus (10 Gems). There is no way to buy Gems with real cash in the base game, so consistent daily play is the fastest legitimate path.
When should I push to Nightmare mode?
Push to Nightmare only after you can clear Hard difficulty with your Core Heart at full health, and only after your main defender has reached Godly+ tier with at least two synergistic Traits. Skipping that benchmark almost always ends in a wave 5 reset, because Nightmare multiplies enemy health by roughly 2.5x.
What is the Ten Wins Reward and how do I claim it?
The Ten Wins Reward is a one-time-per-reset payout of 120 Gems plus a random Mythic Trait Token, given when you reach ten match wins on any difficulty. It tracks across all modes, so AFK farm wins count toward the total, which makes it the single most efficient early-game Gem source.